agave-container-workshop-20180806
Tutorial: Getting Started with Agave CLI
The following instructions will guide you through setting up Agave-based access to the University of Hawaii HPC system using the Agave ToGo web interface. As an aside, everything we do today can also be accomplished from a command line interface or by directly calling API endpoints.
The Agave CLI commands all respond with help for -h and return back information on the parameters that can be passed. Also note that in Jupyter you can start typing a command and use tab auto-complete or list the options which is useful when looking for some of the CLI commands. We can for example try this with “system”
Need help? Ask your questions using Agave’s Slack communication channel.
Initial Requirements
Before getting started, you need to have the following:
- A University of Hawaii HPC Account
- A University of Hawaii Agave Account
- SSH access to the uhhpc1.its.hawaii.edu compute cluster
- Familiarity with editing text files and working at the command line
Any questions? Join the Agave Platform on Slack and ask away.
Agave ToGo
The University of Hawaii has an instance of the Agave ToGo web app available at http://uhhpcgw.its.hawaii.edu/. ToGo is an extremely useful interface for working with Agave, but please keep in mind that it is still in beta access and not all features have been implemented. Also, we recommend using Chrome or Firefox for your browser.
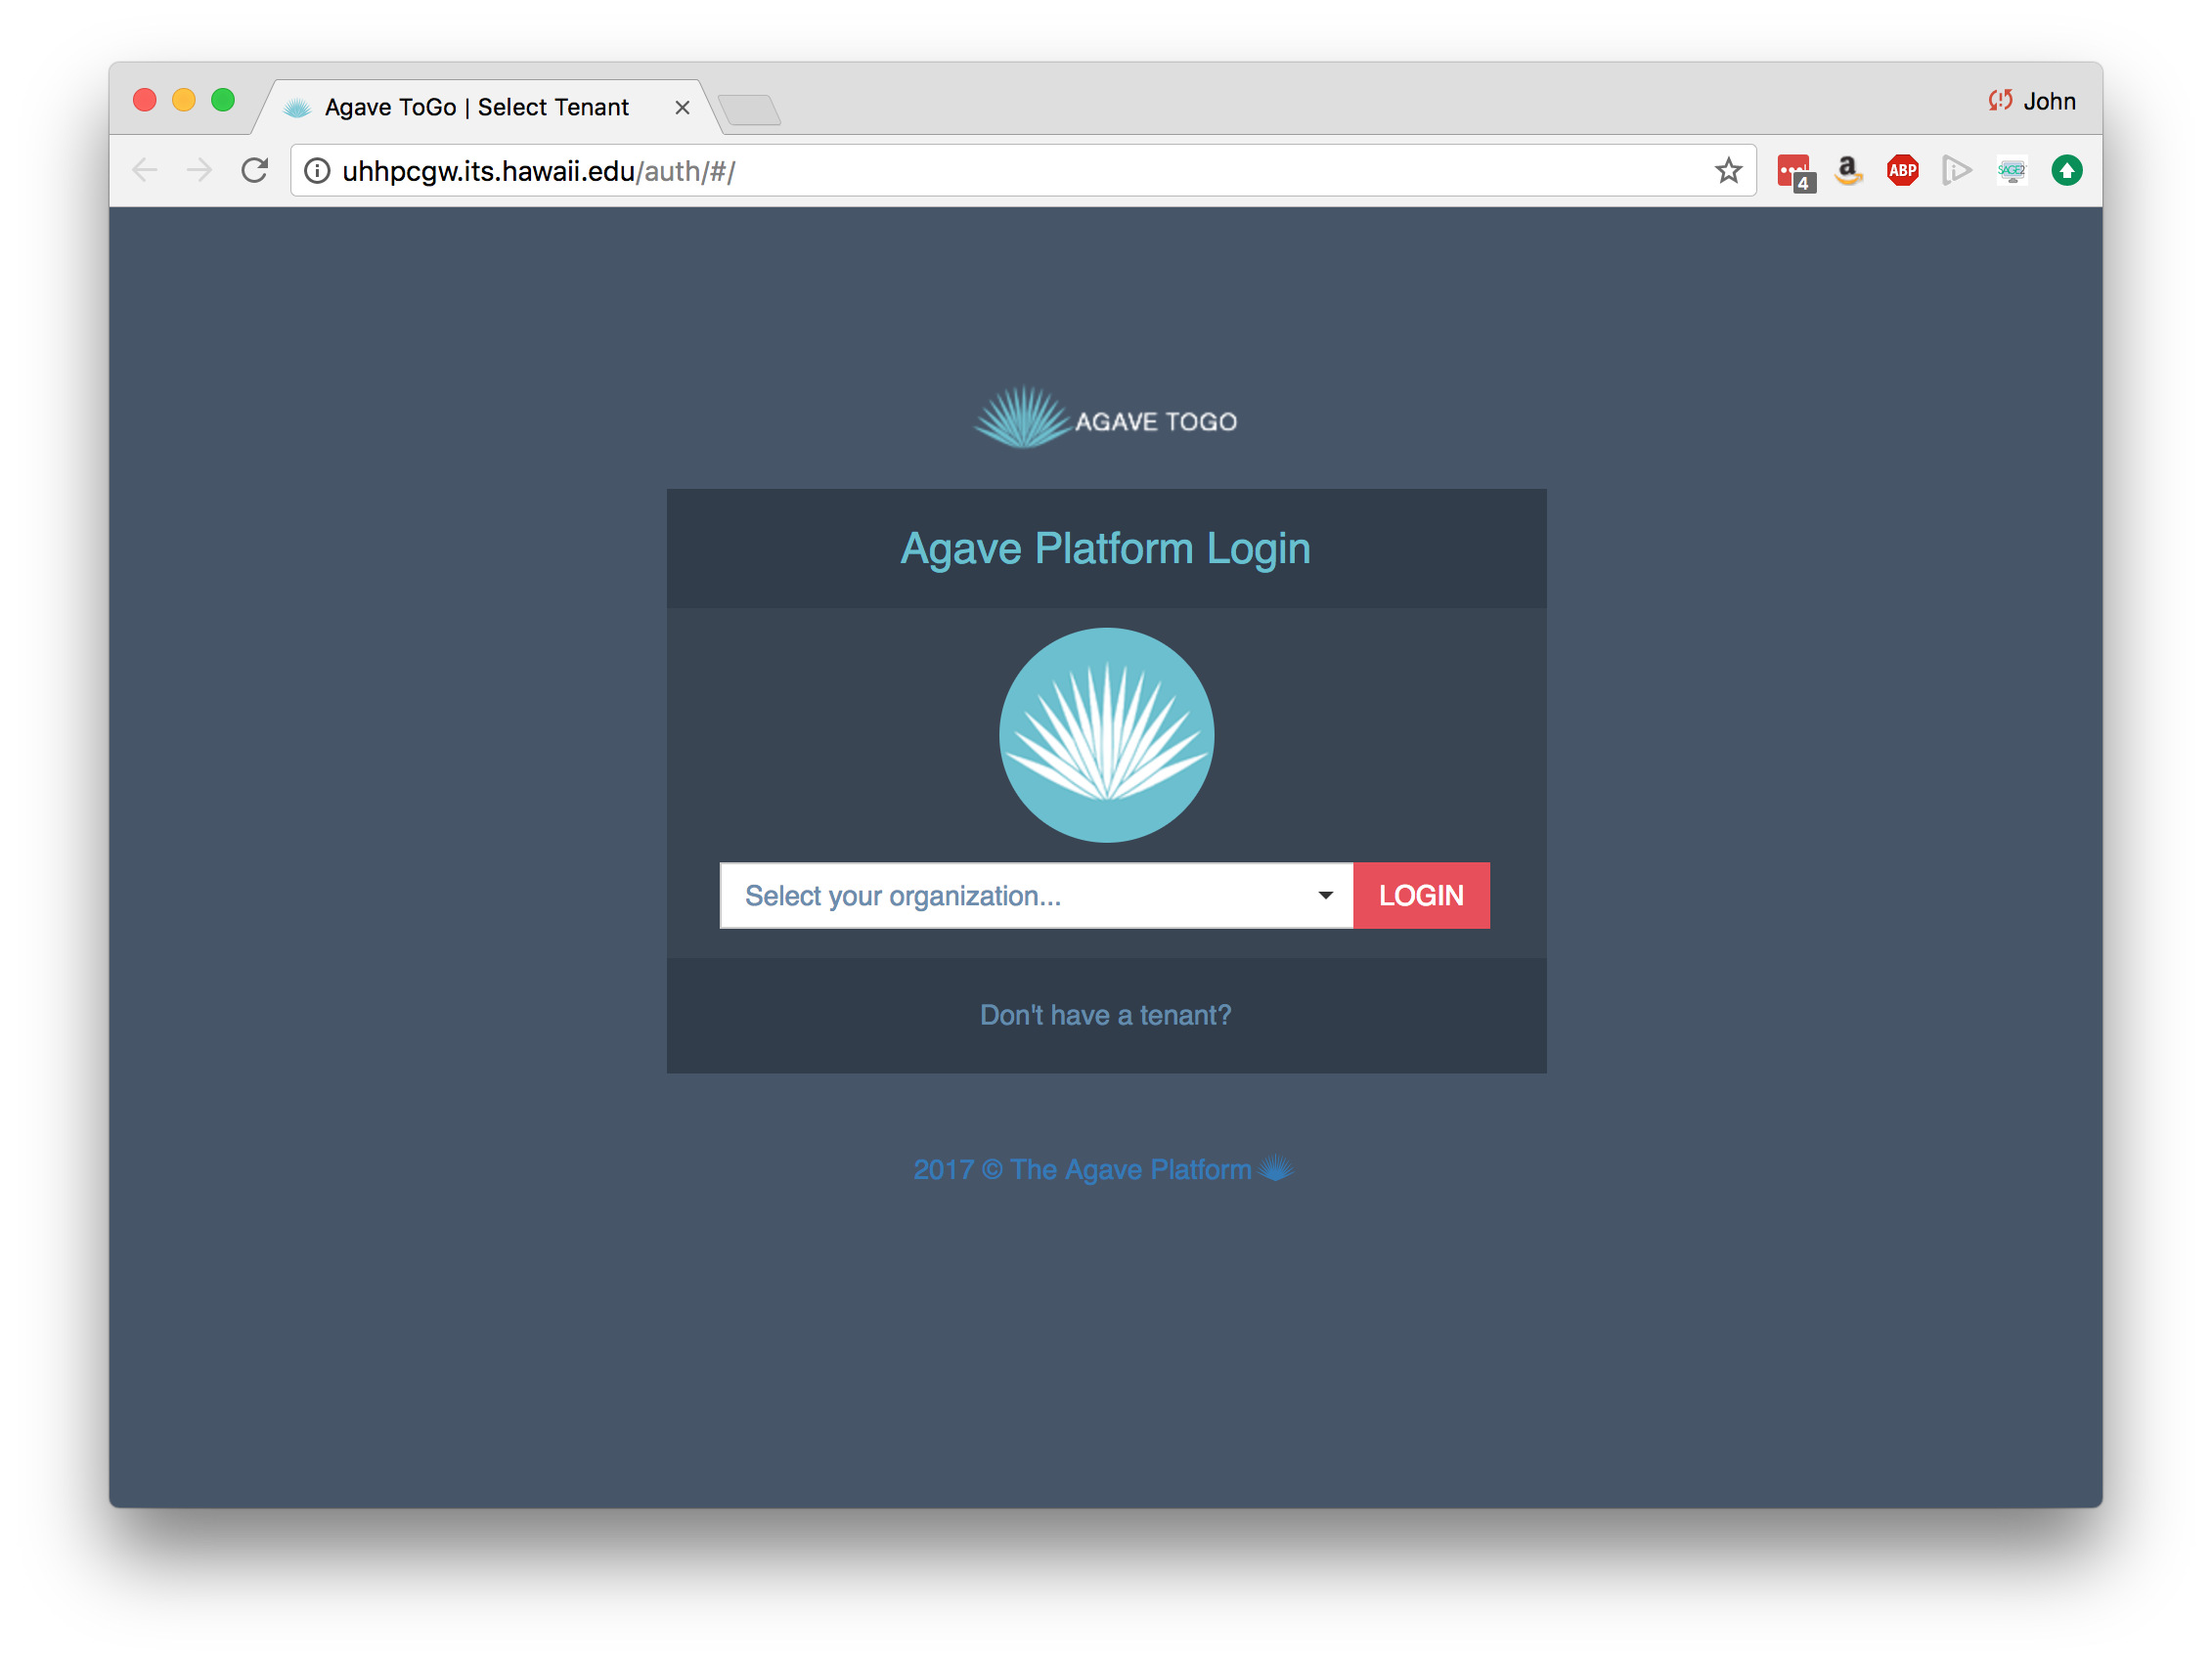
At the login page, you can use your University of Hawaii credentials to login and then click Go to your Dashboard.
You are ready to move on to setting up systems!
Next: Registering Systems with Agave
Command Line Access
We won’t install it in this workshop, but everything we do today can also be done from the standard shell using the Agave CLI tools. Instructions for installing those tools at the UH HPC system is below:
Installing the Agave CLI Tools
The Agave API has a downloadable set of command line tools that make it easier to work with the API from the shell. Using these scripts is generally easier than hand-crafting cURL commands, but if you prefer that route, consult the Agave API Documentation. We include these scripts in this training repository and supplement them with additional support scripts, example files, and documents.
During the course, we will use the University of Hawaii HPC system, but if you have a shell on your personal computer, you can install these tools on your own personal computer by skipping ahead to Run the Installer command:
Using your Terminal program, ssh into the system you will be working with (e.g. University of Hawaii HPC)
ssh USERNAME@uhhpc1.its.hawaii.edu
Now, load the Python module
module load lang/Python/2.7.10/python
Download the CLI tools from BitBucket
cd
git clone https://bitbucket.org/tacc-cic/cli
Add the tools to your PATH and source your .bashrc
echo "export PATH=\$PATH:$PWD/cli/bin" >> ~/.bashrc
source ~/.bashrc
Verify that the CLI is available
Entering auth-check --version should return a response that starts with something like this:
iPlant Agave API 2.1.9
Agave CLI (revision v2-r70d3860)
...
Updating the SDK
In the future, you can update the Agave CLI automatically to the latest version by typing
cd ~/cli && git pull
Initialize the SDK
The first time you install the CLI tools on a computer, you need to initialize it.
If your are in the agave directory of this repository, you can initialize the
UH tenant by doing this by entering:
mkdir ~/.agave
wget -O ~/.agave/current https://raw.githubusercontent.com/UH-CI/agave-container-workshop-20180806/master/agave/current
That command will place the University of Hawaii tenant information into a cache file that the CLI tools will look for when making API calls.